
XML Compare REST On-premise Installation and Setup Guide
Introduction
This guide is designed for users of the XML Compare REST API. It provides help for the installation and initial setup of the HTTP server and wrapper component that provides the XML Compare REST API. The XML Compare REST service allows you to invoke XML comparisons from a wide range of programming languages and systems.
Installation
The JARs for REST are included in the XML Compare (Java) release. They have a suffix indicating the major.minor.patch version, here shown as x.y.z:
deltaxml-rest-x.y.z.jar which needs to be kept in the same directory as an XML Compare release.
deltaxml-rest-client-x.y.z.jar which can work independently and be placed anywhere.
A license file is required to enable the REST service. The file should be called deltaxml-compare-rest.lic and should contain a license feature for 'compare_rest'. The file should also be placed into the XML Compare install directory together with existing jar and license files.
Starting and Stopping the Service
To start the REST service use the following command (adjust heap and stack sizes as needed or to suit the target system) from the install directory. If all is well some lines of debug and information messages will appear as indicated below.
Note
To use the following command-line samples, replace x.y.z with the major.minor.patch version number of your release e.g. deltaxml-rest-x.y.z.jar
$ java -Xmx4g -Xss20m -jar deltaxml-rest-x.y.z.jar
Loading pipelines...
Apr 12, 2018 10:44:40 AM org.glassfish.grizzly.http.server.NetworkListener start
INFO: Started listener bound to [0.0.0.0:8080]
Apr 12, 2018 10:44:40 AM org.glassfish.grizzly.http.server.HttpServer start
INFO: [HttpServer] Started.
XML Compare REST service started, navigate to: http://0.0.0.0:8080/api/xml-compare/v1/pipelines
Control-C to stop it...
When using JDK 9.0 or later an additional add-modules argument is required:
$ java -version
java version "9.0.4"
Java(TM) SE Runtime Environment (build 9.0.4+11)
Java HotSpot(TM) 64-Bit Server VM (build 9.0.4+11, mixed mode)$ java --add-modules java.xml.bind -jar deltaxml-rest-x.y.z.jar
Loading pipelines...
May 25, 2018 11:27:10 AM org.glassfish.grizzly.http.server.NetworkListener start
INFO: Started listener bound to [0.0.0.0:8080]
May 25, 2018 11:27:10 AM org.glassfish.grizzly.http.server.HttpServer start
INFO: [HttpServer] Started.
XML Compare REST service started, navigate to: http://0.0.0.0:8080/api/xml-compare/v1/pipelines
Control-C to stop it...To stop the service use Control-C as indicated or an appropriate operating system command/tool such as 'kill'.
HTTPS
To use HTTPS you will need to generate an SSL Certificate that can be verified with a Certificate Authority's keys that are included in the JDK. We have internally tested using Let's Encrypt (https://letsencrypt.org ).
Please follow the detailed steps below:
If using Postman to test the API - if you didn't use Let's Encrypt and chose to use a self-signed certificate, you will need to disable "SSL Certificate Verification" in the Postman Settings.
Useful Tool(s)
For viewing the contents of a keystore, you can use the following tool:
KeyStore Explorer (keystore-explorer.org)
Once you have a keystore (in our case a JKS file) you can simply open that JKS in KeyStore Explorer to see its contents. (Examples in the guide below)
Self Signed
Generate a Self-Signed Certificate:
Run the command:
keytool -genkeypair -alias myssl -keyalg RSA -keysize 2048 -validity 365 -keystore myssl.jks -storepass changemeFill in the questions:
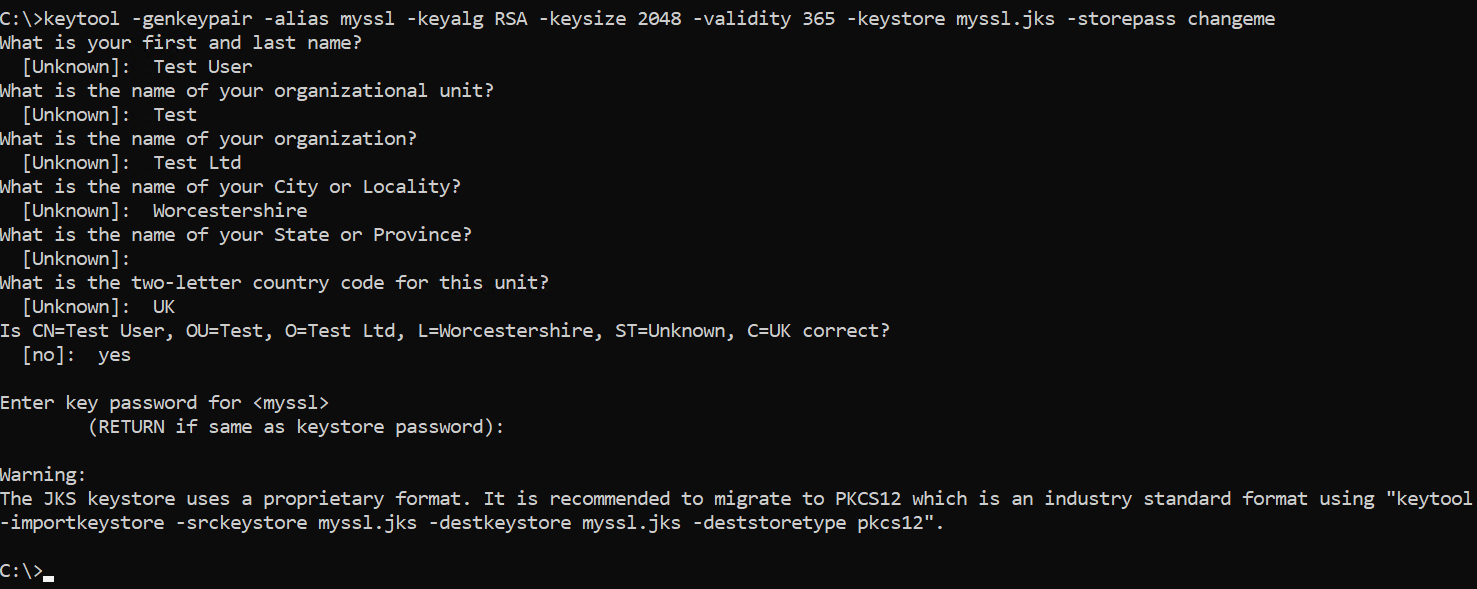
That will give you a JKS file that you can use against your JAR file.
If you wanted to, you can also export the Certificate if you want to use it elsewhere:
keytool -export -alias myssl -file myssl.cer -keystore myssl.jks -storepass changemeVerify the Keystore entries:
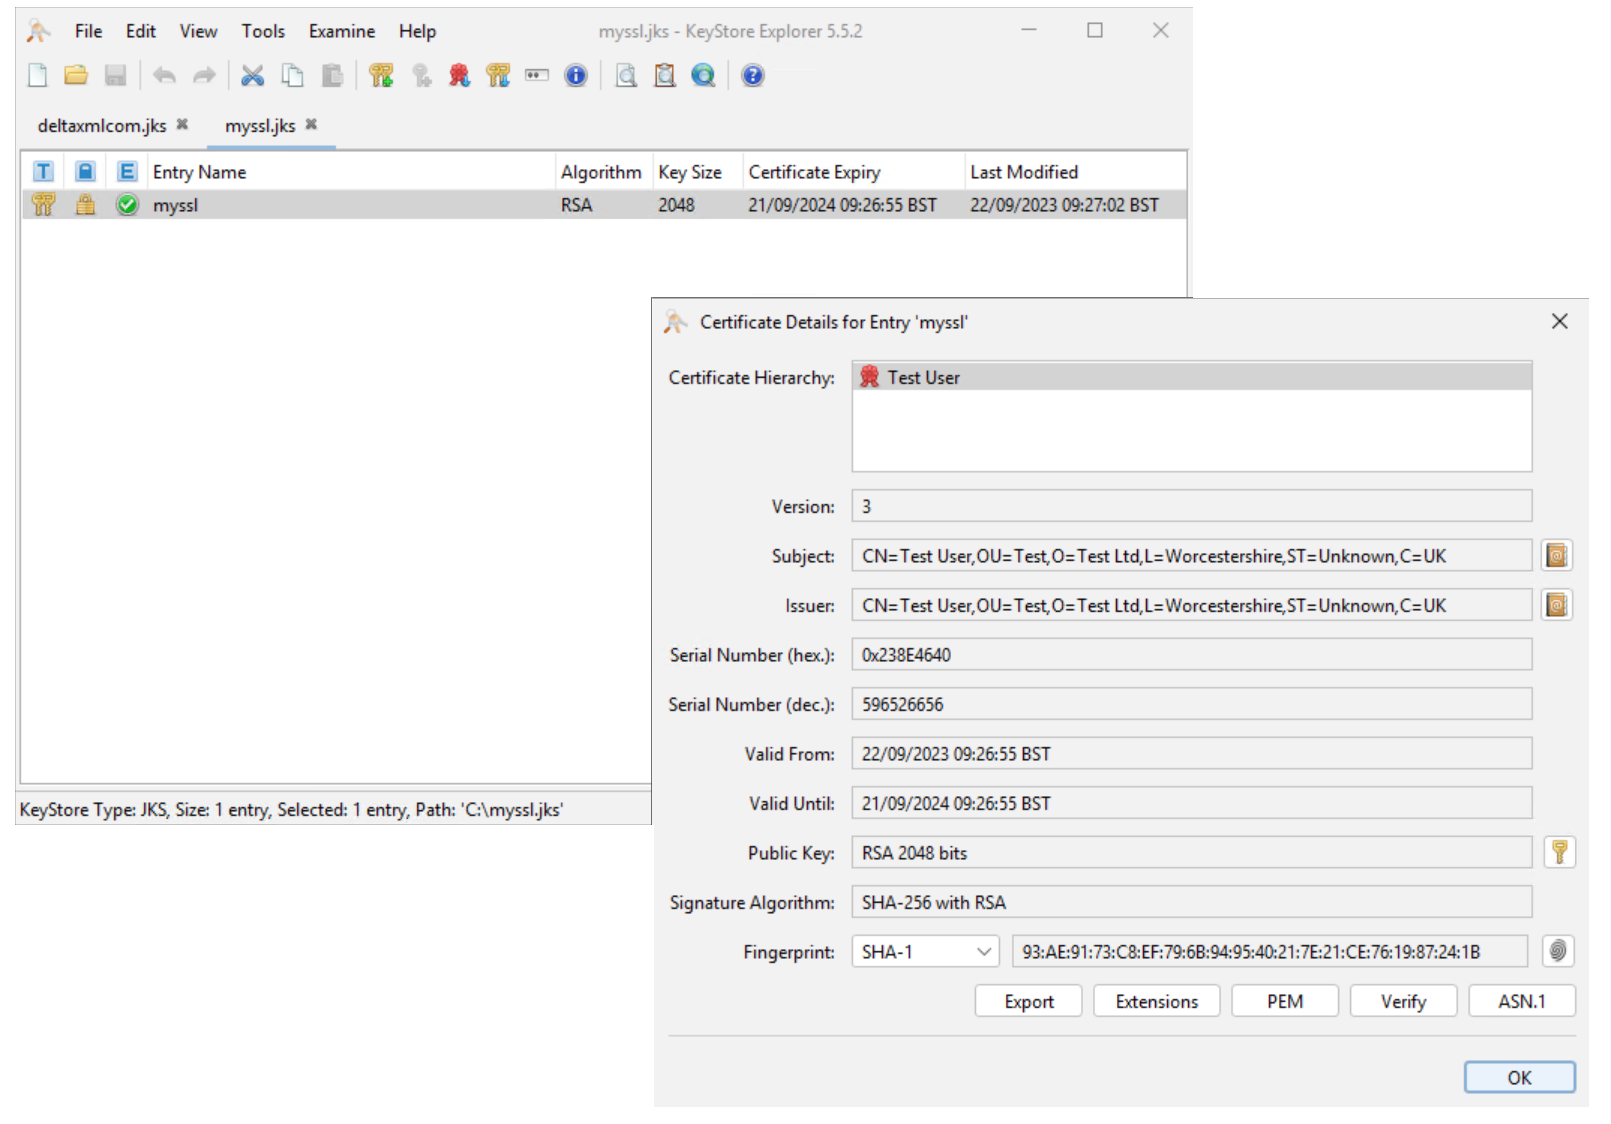
If you run this command, you should see it list one entry in the keystore.
keytool -list -v -keystore myssl.jks -storepass <password>
Or in KeyStore Explorer:
LetsEncrypt/Official Certificate
This assumes you have successfully obtained the LetsEncrypt certificate files, consisting of:
cert.pem
chain.pem
fullchain.pem
privkey.pem
For your case, all examples below will need the following changes:
Where you see “deltaxml.com” this will be your domain
make sure you change and secure the password you use!
It is not possible to import multiple public and private .pem certificates directly in a keystore, so the first task you need to do is add all .pem files to a PKCS 12 archive.
We achieve this by using the OpenSSL tool with the following command (example):
openssl pkcs12 -export -in cert.pem -inkey privkey.pem -out deltaxml.com.p12 -name http://deltaxml.com -CAfile fullchain.pem -caname "Let's Encrypt Authority X3" -password pass:changethisThe final step is to import the certificates into a keystore (.jks) file.
keytool -importkeystore -deststorepass changethis -destkeypass changethis -deststoretype pkcs12 -srckeystore deltaxml.com.p12 -srcstoretype PKCS12 -srcstorepass changethis -destkeystore deltaxmlcom.jks -alias http://deltaxml.com Apply the keystore to DeltaXML product
Assuming you’ve successfully created a JKS file from one of the above methods, you can apply it to DeltaXML products as follows:
this uses naming conventions and passwords from examples above, don’t forget to change them
java -Dkeystore=.\deltaxmlcom.jks -Dkeypass=changethis -jar deltaxml-rest-14.1.0.jarTest it works
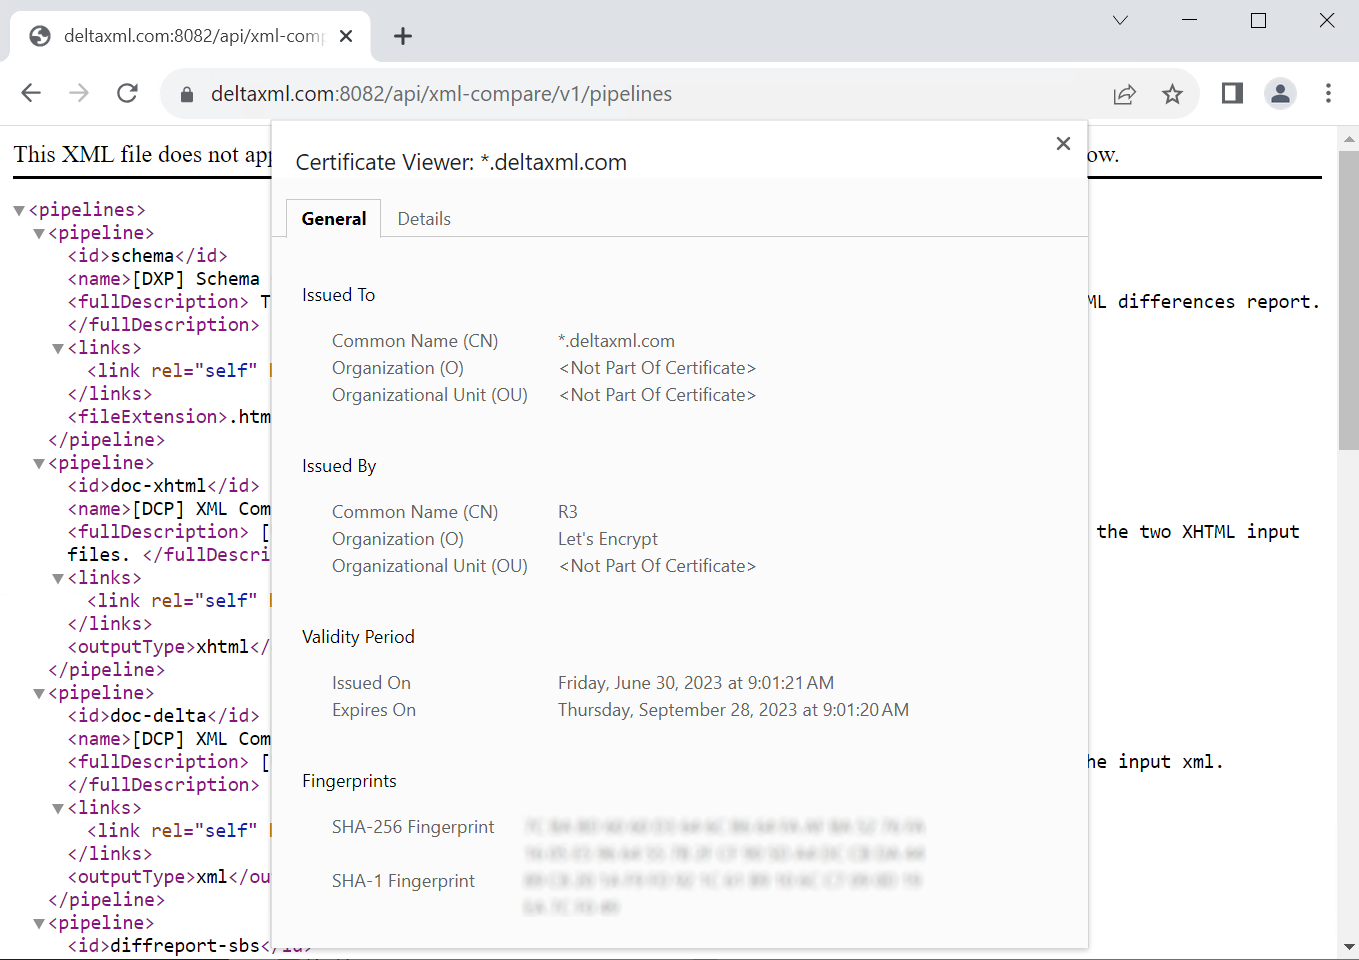
To test things are working as planned you should have the following:
Server side:

Client Side:
Postman
If using postman with a Self signed certificate, don’t forget to switch off SSL Certificate Validation

Using the Service
Postman
The Postman API development and testing app provides a simple way to test the XML Compare REST API. We provide a Postman Collection to help get you started with the REST API, details on this are included in the Testing Using Postman section of the REST User Guide.
Browser-based discovery
Alternatively we support HATEOAS principles and the service can be explored using a web browser, please start at:
http://localhost:8080/api/xml-compare/v1/pipelines/
Substitute the scheme (http or https), hostname, and port depending on your setup.
Pipeline Discovery
You may have noted that the final part of the URL above is pipelines, details on how pipelines are discovered and used for XML Comparison can be found in the Pipelines and Discovery section of the REST User Guide.
Command-line invocation
A sample command-line driver that exploits the REST API is also provided. For more detail please see Testing using Sample Command Line Driver.
Redistribution
For "redistribution" customers we have included an additional guide detailing authentication: XML Compare REST Redistribution Info