
Details on how to use XPath Notebook features
Result node navigation
If a result item is an XML node the XPath for the node is shown with special syntax highlighting. Result nodes can be navigated easily: first press and hold the CMD button and then click on the XPath in the output cell. The corresponding source XML document will be shown alongside the XPath Notebook, with the corresponding node highlighted.
To view the string values of XML nodes in the output cell you should convert them to a string, for example, using the string() function, for example: /books/book/@author! string()
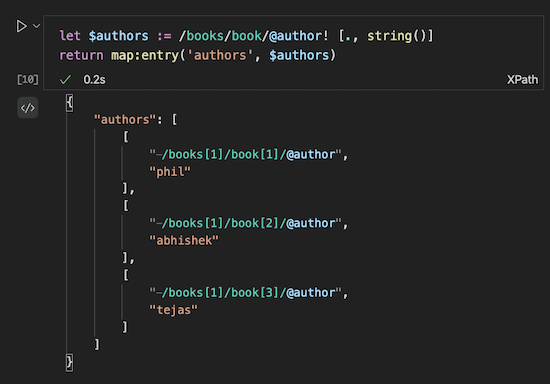
Sample JSON output cell showing special syntax highlighting for XML nodes
Add NoteBook Context Variables
XPath expressions in code cells can reference the results of other code cells. The $_ variable is always set to the result of the previously executed cell. If you want to assign the result of a cell to a specific XPath variable, use a special XPath Prolog* as the first line.
An XPath Prolog is separated from the XPath expression with the % character as this is not a valid XPath operator. The syntax for the prolog is:
variable = <name> %In the above, <name> is the name of the variable to which we assign the evaluation result of the following XPath expression.
Note: The intension is to use the XPath Prolog for other features later.
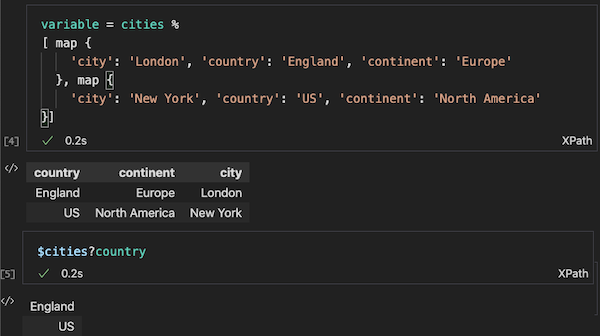
In the example below, the result of the $cities variable declared in cell [4] is used when cell [5] is executed:
Problem Reporting
XPath expressions in Code cells are checked against basic syntax rules. Also, variable names and namespace prefixes are checked using the evaluation context (described above). References to Notebook context variables are marked as invalid until the Code cell with the corresponding variable assignment is executed.
Auto-completion
Auto-completion is available when editing inside Code cells. Auto-completion is triggered for XPath functions and variable names. The variable names list will include Notebook context variables only once the corresponding cells have been evaluated.
Choosing Cell Output Type
Currently XPath Notebooks supports two output types:
Mime-type | Details |
|---|---|
text/html | Suitable for small data-sets (< 1MB) shows results in tabular form |
text/x-json | For JSON text view or advanced rendering from 3rd party VS Code extensions |
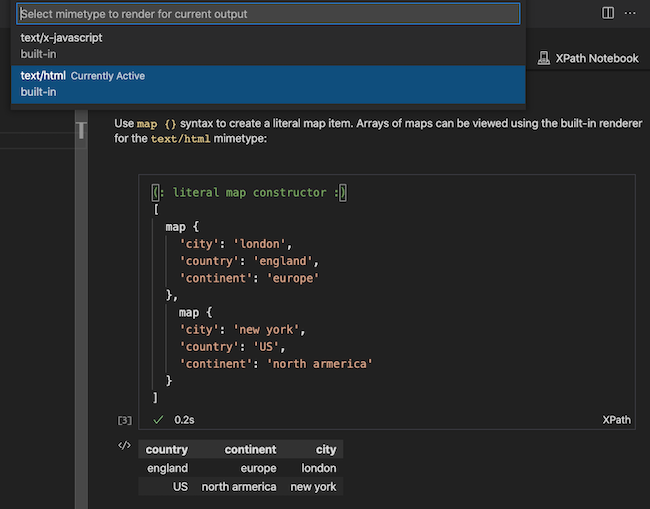
To select an alternative output type, press the ... (consolidated) output button or the </> (normal) output button shown to the left of the output cell. Then select the text/html mime-type. (See the note below to see how to control what button is shown).
A Notebook Layout setting (@tag:notebookLayout consolidated output button) control whether you see a 'consolidated' or 'normal' button alongside the Notbook output cell. For this extension, it's more convenient to disable the 'consolidated' button.