Install Guide
This guide takes you through the process of installing the DeltaXML oXygen Adaptor and adding 'oXygen Enabled' comparison products.
Installing the Adaptor
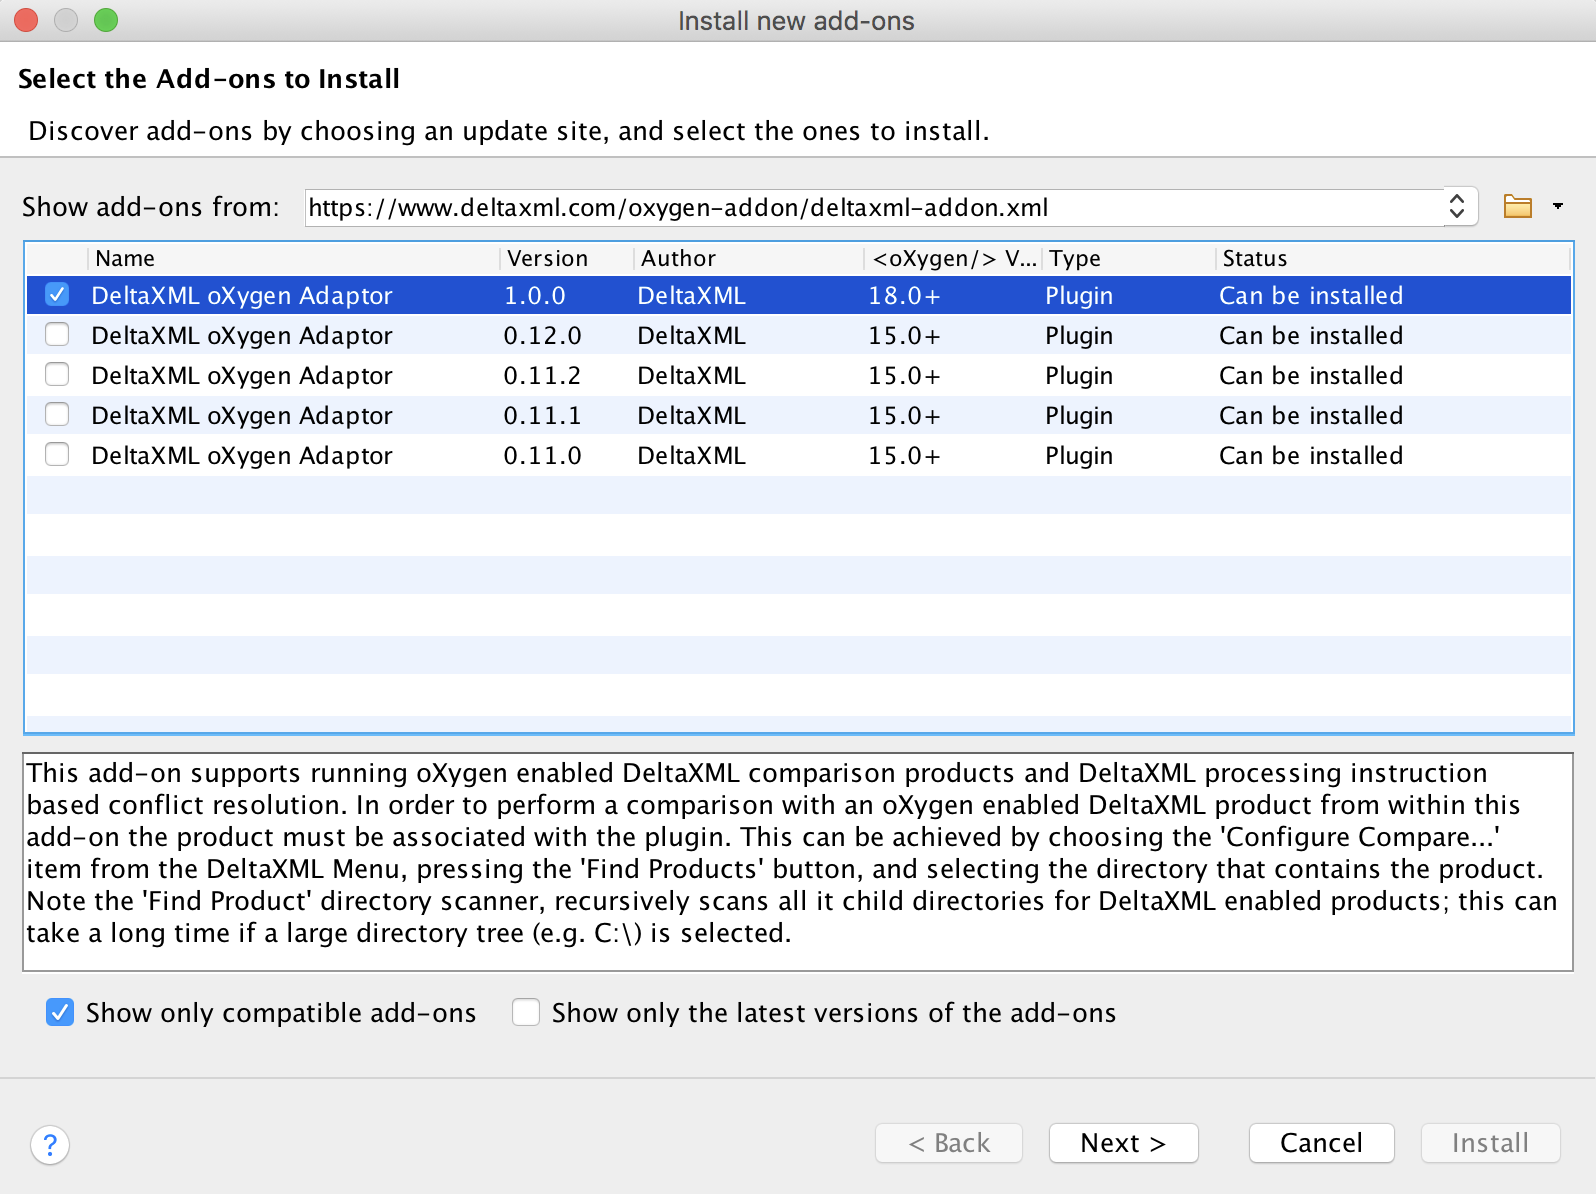
Bring up the Install new add-ons dialog by selecting '
Help > Install new add-ons...' and enter the DeltaXML add-on update site URL -https://www.deltaxml.com/oxygen-addon/deltaxml-addon.xml- in the top combo box. The DeltaXML oXygen Adaptor entry should now have been added to the add-ons list as shown below. Select the required version, check the box adjacent to this entry and press 'Next'.
You will be invited to accept the license conditions and then press 'Install' to install. You are then asked to restart oXygen. Once oXygen restarts, DeltaXML buttons appear in the menu bar and toolbar, as shown below.

Further general instructions on the oXygen add-on setup and install process are available on the oXygen website at:
Adding a comparator
We will now take you through the process of adding an 'oXygen' enabled DeltaXML comparator, using DITA Compare 7.0 as our example.
Note
The installation process searches for the main product Jar file in the DeltaXML product install directory you specify. Any download variant of the product can be used for this - except for the .NET version.
Now the oXygen Adaptor is installed, you are ready to configure it for the Dita Compare product; to start this, select
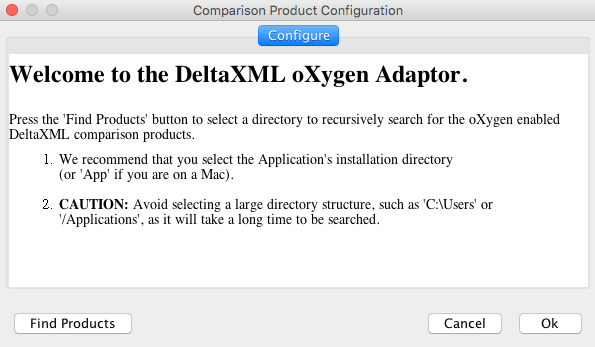
DeltaXML > Configure Compare...from the menu bar. The following Comparison Product Configuration form will appear:
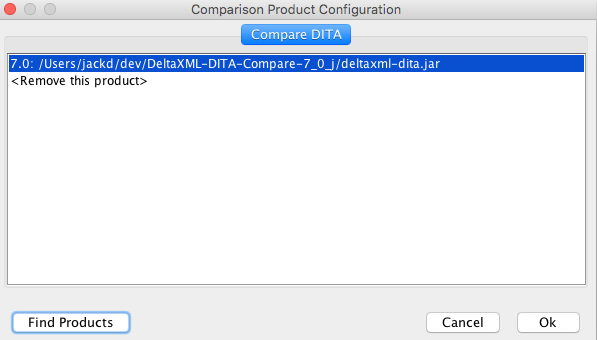
From this form, press the 'Find Products' button and select the installation directory as advised. The discovered version number of the product and path to the Jar are displayed as shown below, select this and then press 'Ok'. You will then be prompted to restart oXygen.

Once oXygen is restarted, you should be able to use the product as described in the Running a comparison section of the Usage documentation.
